Curry leaves (Murraya koenigii) are an essential ingredient in many Indian and Asian dishes, known for their aromatic flavor and medicinal properties. While growing curry leaves from seeds can be time-consuming, propagating them from stem cuttings is a faster and more efficient method. This guide will walk you through the process of growing curry leaves at home without seeds.
Why Grow Curry Leaves from Cuttings?
Growing curry leaves from stem cuttings is a popular method because:
- It is quicker than growing from seeds.
- Cuttings have a higher success rate when grown under the right conditions.
- The plant maintains the characteristics of the parent plant.
- It allows for year-round propagation.
Materials Needed
Before starting the propagation process, gather the following materials:
- A healthy curry leaf plant (for stem cuttings)
- Sharp pruning shears or scissors
- A small pot or container
- Well-draining potting mix (a mix of sand, perlite, and compost)
- Rooting hormone (optional, but recommended for better success)
- A plastic bag or plastic wrap (to create humidity)
- Watering can or spray bottle
Step-by-Step Guide to Growing Curry Leaves Without Seeds

1. Selecting and Preparing the Cutting
- Choose a healthy, mature curry leaf plant.
- Select a semi-hardwood stem that is about 5-6 inches long.
- Ensure the cutting has at least 3-5 leaf nodes.
- Remove the lower leaves, keeping only the top few intact.
- If using a rooting hormone, dip the cut end of the stem into the powder to encourage root growth.
2. Preparing the Potting Mix
- Use a well-draining potting mix to prevent root rot.
- A mixture of garden soil, compost, sand, and perlite works best.
- Fill the pot with the soil mixture, leaving about an inch of space at the top.
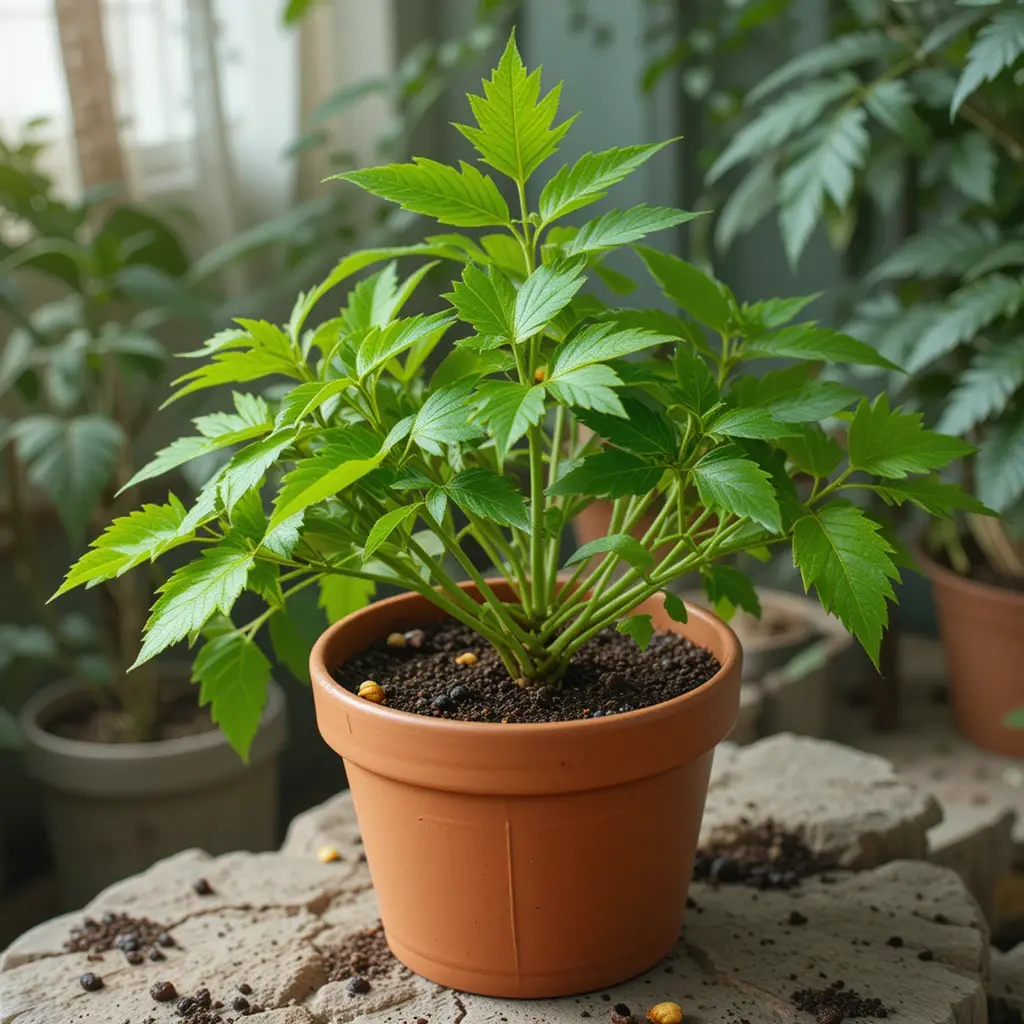
3. Planting the Cutting
- Make a small hole in the soil using a stick or your finger.
- Insert the cutting about 2 inches deep into the soil.
- Gently press the soil around the cutting to hold it in place.
- Water the soil lightly to keep it moist but not soggy.
4. Creating a Humid Environment
- Cover the pot with a clear plastic bag or plastic wrap to retain humidity.
- Ensure the plastic does not touch the cutting; use sticks to create support if needed.
- Place the pot in a warm, bright location with indirect sunlight.
5. Caring for the Cutting
- Keep the soil consistently moist but avoid overwatering.
- Mist the cutting with water daily to maintain humidity.
- Avoid direct sunlight as it can dry out the cutting.
- Within 3-4 weeks, roots should start to develop.
6. Transplanting the Rooted Cutting
- Once roots have developed (about 6-8 weeks), transplant the cutting into a larger pot or directly into your garden.
- Use nutrient-rich soil with good drainage.
- Water the plant regularly and place it in a spot with at least 4-6 hours of sunlight daily.
Tips for Healthy Curry Leaf Growth

- Pruning: Regularly trim the plant to encourage bushy growth.
- Fertilization: Use organic compost or a balanced liquid fertilizer every 3-4 weeks.
- Pest Control: Keep an eye out for pests like aphids or spider mites and treat them with neem oil if necessary.
- Winter Care: If you live in a cold climate, bring the plant indoors during winter or cover it with a protective layer.
Growing curry leaves at home without seeds is a simple and effective process when using stem cuttings. With proper care, you can enjoy fresh, aromatic curry leaves year-round for cooking and medicinal purposes. Follow these steps, and soon, you’ll have a thriving curry leaf plant in your home garden!